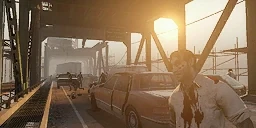
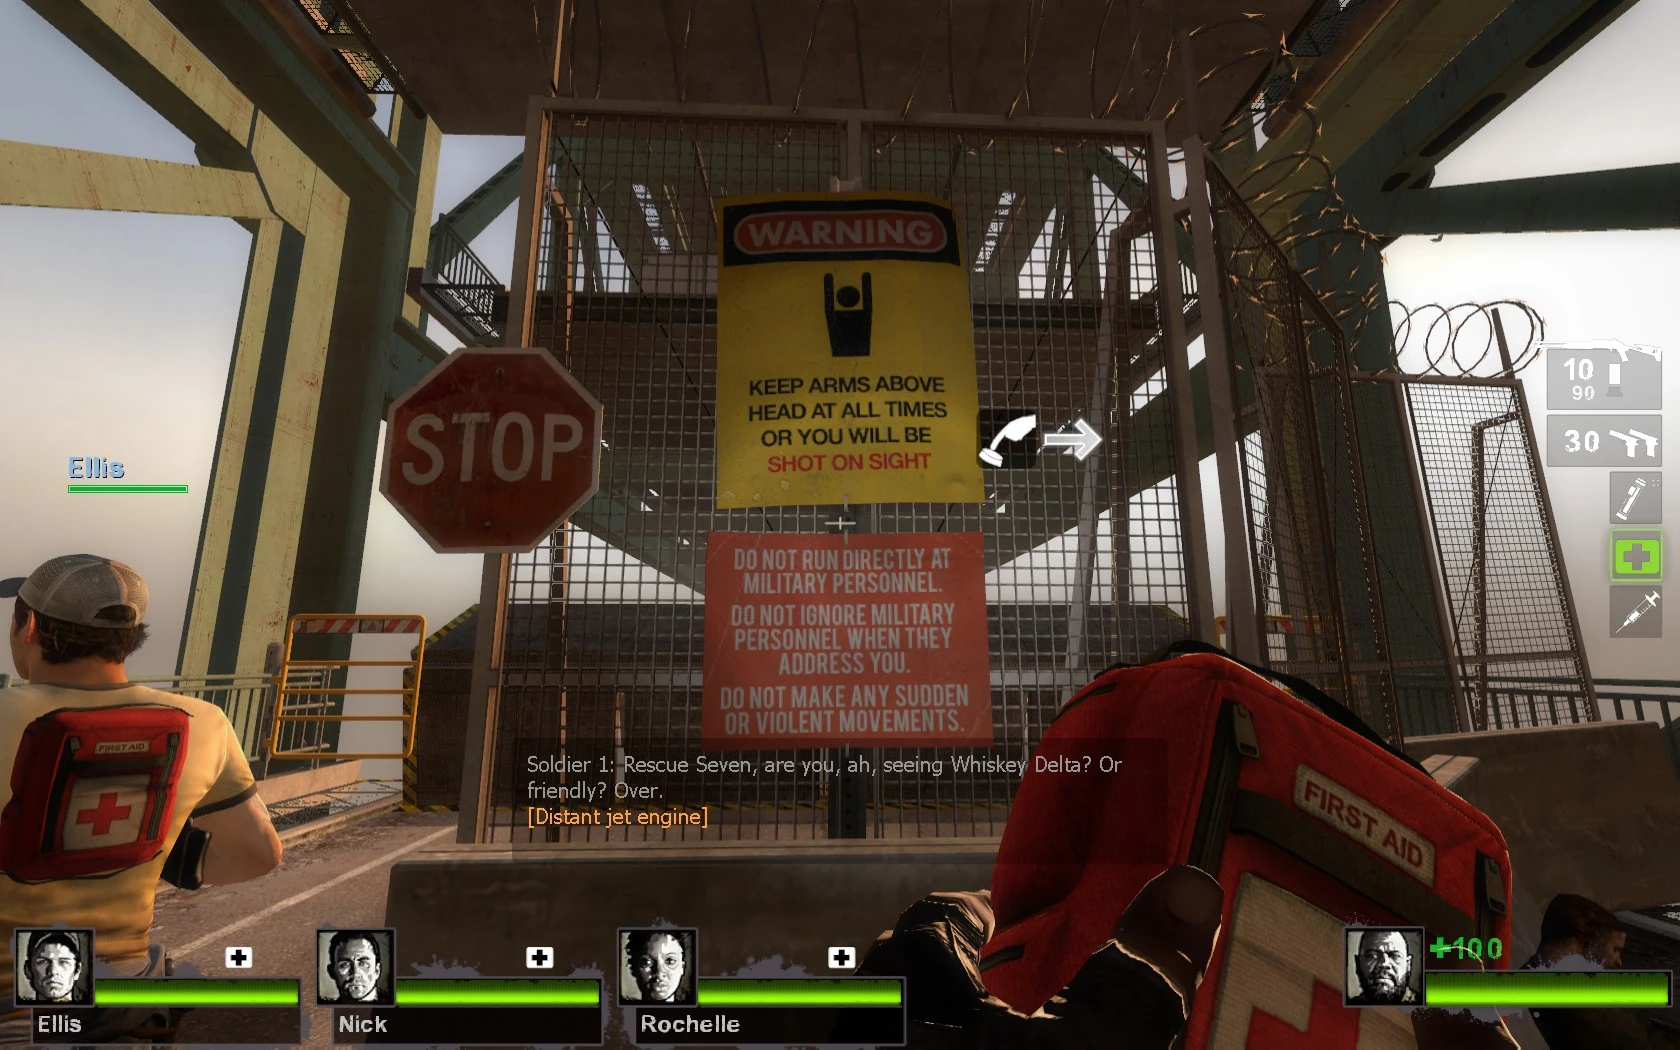
The Bridge is the fifth and final chapter of the final campaign, The Parish. After the Survivors escaped from the ruins of New Orleans, they learn that the military is abandoning the mainland and trying to hold out at sea on large cruise ships. The Survivors take this chance, and make a run for the helicopter.[1]
The chapter starts in a safe room with two floors. Players need to heal as necessary, but weapon selection is a key variable. Players need to experiment, but a good combination is a fast-firing Tier 2 plus a fast melee weapon (e.g. Katana or Nightstick) to clear the way at close quarters and get disentangled from Common Infected mobs. If aiming for a sub-three minute achievement, picking up Adrenaline Shots is essential. A Pipe Bomb or two (if available at the start) is a huge asset to keep in reserve to clear the way in the chapter's penultimate stage: the dash across to the bridge exit denoted by an army Humvee. Overall strategy is to keep in mind the requirement to move to the rescue vehicle in the face of oncoming waves of enemies.
Please note if you've started this from The Quarter, there are three extra guns and four Health kits on the bottom floor.
Once equipped, exit the safe room and use the radio next to the dead body. After using the radio to speak to the military, operate the switch on the console and move to the bridge barrier to ready for the start.
Golden Rule: Start on the left and stay on the left! The road surface is punctuated with holes and the only clear way through to the end is a narrow pathway to the left―this also helps channel enemies so that they can be taken down. A good assault rifler with melee weapon as a secondary should take point. An offsider should follow closely behind to provide cover with an assault rifle or auto shotgun as the primary. The remaining two team members must stay tucked in close behind and be ready to provide support as needed―even to the point of switching to point and cover positions when necessary.
Once the bridge opens, start sprinting―the first Infected take a few seconds to appear and the ground gained before they do so is obviously valuable. There are various ways to get across the bridge and the Strategy section discusses these in detail. As a general rule, keep left, keep together and keep moving. Common Infected are threats simply because they are so numerous and can slow a team down―especially if one team member gets mobbed. Teams must be be careful of Chargers (especially in Versus) because they are able to knock Survivors right off the bridge itself. The same may happen with Jockeys, but they are a serious threat only if the team's cohesion has broken up and individuals are strung out along the line of escape, out of immediate support from one another.
Due to the nature of the finale, the main strategy of the Survivors is to keep moving. There is no point in finding a location to hold out for long durations, as the horde will repeatedly respawn (although there may be brief lulls in between hordes).
The two general strategies are to: 1) speed-run (move without stopping) and 2) move at a regulated and methodical tempo.
Speed Running Strategy
If speed-running the bridge, it is essential to stay left when the bridge levels out because it is the clearest path to the end. At the point where some scaffolding comes into view on the side of the bridge, a Tank will spawn and the music will start. At this point, a good idea is to get out onto the scaffolding and take an Adrenaline shot (this gives about 15 seconds of super-speed) and enables a team to run past the the Tank without fighting him. Getting onto the scaffolding is an excellent idea as it makes it harder for the Tank to hit players with a thrown car; his size also makes it difficult for him to get out on the scaffolding and in reach of players. If going for the Bridge Over Trebled Slaughter Achievement, fighting the Tank is not an option―he must be outrun.
After the scaffolding, players need to look for a fuel tanker truck with a ladder on the back. Either use the ladder to climb up on top of the truck or get up on its hood by jumping up on its front wing. Jump across to the roof of the bus in front and then over onto the slanting section of the bridge followed by a level area. A massive horde of Common Infected will be in view at this point. Check back to ensure no one in the team has been snarled up in the rear. To avoid running past the bridge exit (it is easy to do in the excitement), look for the military Humvee. Throw a Pipe Bomb slightly off to the left to clear the route (a replacement Pipe Bomb is on the Humvee's hood if needed to clear the way in the final sprint from the Humvee to the helicopter). Swing right onto the bridge off-ramp. By this time, the "Rescue has arrived" message will have flashed up and the rescue helicopter will have hover into view. Keep sprinting forward but bearing slightly right so as to get closer to the helipad. A military truck with a Heavy Machine Gun and ammo pile on the ground next to it will be seen. (This weapon is practically useless unless a decision is taken to fight the Tank that spawns at about this time or to help out Survivors who are lagging behind.) For a speed run, going through the bother and delay of trying to kill the Tank is self-defeating as it is unnecessary and the rescue helicopter is very close by. To make the end run, turn hard right at the end of the fence and jump down onto a bus, then sprint around the barbed wire fences to the helipad. After reaching the chopper, fire support can be laid down from the helicopter windows or ramp for any team member who is bringing up the rear. Once everyone living is aboard, a cutscene rolls depicting the bridge being blown up.
A sub-three minute time gives the achievement Bridge Over Trebled Slaughter. Note that if aiming for this achievement, the most simple way of getting it is to do this chapter on Easy (thus eliminating Special Infected bar the Tank) and with the aid of a switched-on human buddy.
Regulated Crossing Strategy
The basic route and methodology is much the same as that described above. The major difference is that the team sprint when needed, but otherwise deliberately fight their way across using the supplies of fresh weapons and ammo encountered on the way. The mantra of "Keep Moving, Keep Left and Use the Scaffolding" explained in the section above nevertheless applies in full.
This strategy consumes a lot of ammo and it is essential the team restock on ammo or replace Tier 2 weapons at the supply points provided. When reaching the midpoint on the bridge, go up as the Commons tend to spawn below and if you've used some Adrenaline shots, there are two free ones waiting for you in an ambulance along with others near Humvees. Go down and get to the Tank zone to stop the flow of Commons temporary.
As noted above, this strategy gives Special Infected such as Chargers ample time to spawn and prepare, and teams must either be very fast accurate shooters―or expect to lose members and team cohesion under their attacks. The scaffold Tank is normally deliberately engaged with a view to killing him.
Gunfire alone will not be able to hold off the Common Infected horde in the level area of the bridge approaching the off-ramp―a Pipe Bomb is thus almost essential to clear the way. Teams should expect to have at least one member struggling along on low health at this stage, so it is a good idea to keep either Pills or Adrenaline in reserve for the final dash.
Once on the off-ramp, speed is vital. Grab some ammo (if needed) from next to the machine gun truck. Sprint to the helicopter and do the best one can to provide cover for any laggards. Unfortunately it is possible that an unlucky human player on low health will go down in the area where the second Tank spawns―although this victim is more likely to be an AIBot when playing with a mixed team.
Overall, whilst this strategy will not win an achievement, it provides a huge amount of challenge and a multitude of opportunities to practice and hone one's combat drills.
Strategy
Humvee Method
Jeep method
After you've crossed the CEDA tents, look for the Humvee with the mounted Heavy Machine Gun.
Have one person mount the gun, one behind him, and two below the Humvee.
The person behind the gunman with an M16 should look out for Spitters, because they could damage all Survivors in one pool.
When the Tank comes, one person should be the bait and the rest concentrating fire on the Tank.
Once the area is cleared, make a dash for the helicopter and escape
This is not recommended for players who have captions off and aren't the looking type, as the Tanks can be sneaky once in a while, causing only one Survivor to escape even on Easy.
Bus Method
Before reaching the helicopter, you will see a bus located at the downside.
Have at least two Survivors grab either a fast melee weapon or a shotgun, as they kill hordes quickly.
Two people should be in the front and back, and the rest in the middle.
Everyone should stay above the bus and kill any Infected in sight.
Keep a lookout for Smokers, as they can drag a teammate off of the bus.
Separate in groups of two to take down the Tank.
One should throw a Pipe Bomb or a Bile bomb to distract the Infected while running to the rescue vehicle.
Pump and Run
Have everyone grab an Adrenaline Shot, a Tier 2 shotgun of some sort, a Pipe bomb, and a fast melee weapon, such as the Machete or the Nightstick.
Stick together like glue, and always have at least one person by your side to make help arrive faster.
If you haven't found any replacements, use your Adrenaline Shot when you get to the Tank. Run past him and over the gas tanker. When the vehicle horde spawns, throw your Pipe Bomb to make getting to the vehicle easier.
This technique is very effective for completing the level in a fast time, which is required for the Bridge Over Trebled Slaughter achievement. All Survivors will get the achievement if they do not already have it when completing the level.
Left Flank
Have your whole team pick up shotguns and a melee weapon, Pipe bombs, and if possible, have one of your teammates carry a Bile bomb. It is also recommended to have one person on your team use an Assault Rifle variant or a Hunting Rifle/Sniper Rifle.
Call the horde and take the left path, as it is the clearest way. Do not stop for anything.
Run in a line and have the melee user lead. Have your Sniper/Assault teammate clear out Special Infected; be sure to point the Special Infected out to them so they can dispatch them quickly.
Have the two shotgun users in the back, one armed with a Pipe bomb and one with the Bile bomb.
Run down the left side, mowing down zombies. When you see the Tank, have the shotgun user with the Bile bomb throw it at the Tank. If you didn't find a Bile bomb, just run past him.
If practiced several times, you'll get a feel for the layout of the bridge and know what path to choose for future plays.
Hit-and-Run
Have everyone healed up to the max and have a melee weapon and an Assault Rifle. Assault Rifles are extremely effective at cutting Infected up while using little ammo.
Once the Commons spawn, throw a Pipe Bomb to the right to distract them for a while.
Run past, stocking up when needed. Kill the Tank if needed.
Restock ammo at the end of the bridge and run to the helicopter.
Watch for Tank attacks as the Tank usually does his Rock Throw attack when players land on the bus. Use your Adrenaline shot to speed past him and the Commons. If you're playing with AI Bots who are taking to long, just kill them if you want to finish this and not be a victim of the Tank.
Plan ahead. A good plan is better than just running and hoping for the best.
You need to keep moving as much as possible.
Newcomers should be on the lookout for gaps in the bridge. A few careless steps can send you off the edge.
It's good to stop for a few seconds every now and then to clear the path ahead; however, tell your teammates when you do this and resume movement as quickly as possible.
When the Tank comes, you can climb on the scaffolding on the left and right sides of the bridge to avoid being hit by cars. If the Tank follows, be sure to jump back onto the bridge carefully.
Keep in mind that during this level, you should be moving just as much as the Survivors. There are various holes in the bridge and the sides are usually not protected by gates, so carrying Survivors off the edge will cause them to hang or fall to their death. Do note that even while you are spawning, should you fall, you will die and have to respawn. Press the use key the instant you start falling to spawn alongside the closest Survivor to prevent such mishaps that could cost you and your team.
Hunters: Try to pounce the last Survivor during moments of confusion (Tanks, Boomer Bile, etc.), as most Survivors will keep moving before they realize their teammate is in trouble. It's a good idea to claw weak Survivors who usually trail the pack until you incapacitate them, and then hide and then pounce the rescuer to add more damage to their team. Practice makes perfect, so if you can practice, the bridge holds few very good wall-jump positions, which leave Survivors wondering where you are going to come from.
Jockeys: You can do wonders on this stage, especially if the Survivors are scattered. If you can successfully ride one, you can take them backwards and/or cause them to hang on the side of the bridge. Be aware that this will most likely end in your demise, so have a buddy close at hand to take care of any rescuer, or your sacrifice will be in vain. You can also ride a bot off the bridge as bots do not resist the Jockey's influence, allowing you to disable them quick.
Chargers: When the opportunity arises, try to charge a Survivor off the bridge from the sides or one of the many holes in the middle of the bridges. If this isn't possible at the time being, try to grab the Survivor at the back and carry them back; this way, Survivors either need to go back and kill you, or leave their teammate to die. Chargers can take Survivors from Jockeys, which can confuse Survivors, as well as it can let the Jockey set a new ambush position.
Smokers: Try to grab the one that is behind. This can slow the whole Survivor team down. They will either run back to save him, buying your team more time, or run ahead, leaving him to die. Also remember that the many holes in the bridge can instantly incapacitate or kill a Survivor, so try to drag stragglers off whenever possible. Your tongue will break and you can hide. As with Jockeys, have a buddy close to grab any wannabe heroes.
Boomers: Try to vomit on Survivors when possible. This will summon a horde that can slow down Survivors, especially those that are in the front and away from the other Survivors. This will leave one person fighting off the horde. Remember that when you explode, you can push players back. Take care when near captured Survivors or Tanks, but attempt to explode near Survivors who are close to holes or the sides of the bridge. The blindness has an added effect: it might cause the Survivor to mistakenly run into a hole, which is instant death.
Spitters: You might not do so well this level as the Survivors are constantly moving; your spit is stationary once fired and there are usually multiple paths through the bridge. There are also no "good" hiding spots to take cover in. Attempt to do as much damage to the Survivors as you can, trying to get in places where they have to go, such as the ladder on the fuel truck after the Tank. Also, since most players won't cross goo even here, try to spit to split up the Survivors so your team can pick them off, or put the Survivors in immediate (and deadly) danger. Another way to slow Survivors is spitting at where they need to call the pilot, though there is not a great hiding spot to do this from. If you plan to do this, expect to die shortly after you spit.
Tanks: If the enemy team is not climbing on the scaffolds, you can easily bash them with cars. It's a great way to slow down Survivors and then rush up to them. For The Bridge, cars will not instantly incapacitate Survivors, instead doing a set amount of damage, so follow up attacks. Do realize that even though you are a feared team member of the Infected, the large number of cars and the distance you will spawn from the Survivors will mean more time to get to them. It is usually faster to punch cars out of the way than to bother jumping and hopping over them. Keep an eye on your frustration meter. Be aware that there are several propane tanks on the bridge, and if Survivors time it right, they can stumble you off into the water. It is also good to punch the Survivors off the bridge.
Survival
They reached the other side,only to find out to their horror the helicopter pilot has been killed.
How long can they last the never ending onsalught of the infected?
There are three main areas on this map where holding out can be most effective:
The Helipad - Area by the helicopter Survival Rating 6/10 Pros -
- Open and wide area, so Tanks can be killed effectively with minimal damage taken.
- Single sided, with the water acting as a barrier from behind, the only area from which you will be attacked is the front so you can easily focus fire on the hordes of Infected heading for you.
- Item Stashes, Inside the Helicopter itself are health kits and a defib along side which can be found a weapon and 3-4 molotovs, these can be swaped with other items of there type from around the map if necessary. The Helipad is also very close to other item staches (by the tents) so in moments where the horde is quiet they can be easily retrieved.
- Choke points, the Helipad is accessed by the two walkways at the front, and area they go through can be funneled into focused fire, making it easier to move around and kill them before they kill you. Cons -- Charger kills, the water behind you may act as a good barrier but can also be fatal if a Charger happens to carry you into it so bear this in mind. Jockeys are a concern, too, as they can pull you over the edge if you are not fighting back. Tanks are the biggest problem, as players near the edge can be punched off to their deaths.
- Dead End, with nowhere to fall back to it can be hard to maintain your ground. Unless you kill incoming hordes quickly, it's easy to get overwhelmed.
- Weapons, as only a Pump shotgun resides in the helicopter, making it deadly when you are low on ammo and the horde is attacking.
The Radio - Area around the starting radio Survival Rating 6.5/10 Pros -- Extensive items, Being the center point of the map, it has quick access to all the ammo piles and pill stashes around the area and is equally far away from every other stash including the helipad.
- Ammo piles, this area itself has its own ammo pile which can be sat on and used when ever needed, so you're not short on bullets. - Barricades, the many fences and walls in this area act as blockades, causing infected to be thinned out and easily picked off, also the lower walls allow a quick escape from spitter acid.
Cons -- Basin effect, With the bridge looming over the area in front, infected have a tendency to drop off and land all around, causing chaos and a difficulty to control the horde. The bridge acts as a vantage point for specials like the smoker and spitter who can rain acid down on you or sneak a quick snare.
The Bridge - High end of the bridge Survival Rating 10/10 Pros -- Funnel effect, it being a lengthy strip of bridge, infected can be easily seen and dealt with at you. Also there will be no worry of infected attacking from the sides so all survivors can concentrate there fire on the oncoming tide of zombies. - Special sightings, You have a wide view of the horde coming at you from in front of you, except for the special infected who usually will attack from behind you. - Gas can throwers, having one person set to throw a gas can when a tank arrives will insure a good advantage over them and a head start in taking away its health. It will also delay the horde as the fire will spread across the narow bridge path. Try to gather gas cans and propane tanks before starting the round and have one person in charge of throwing them out. - Tents, the tents at the high end of the bridge allow an excellent vantage point for taking out tanks with a good grenade launcher player and a sniper or two to deal with other special infected and set alight gas cans. One of the best strategies is to stand on the tents which are closest to the fence. Have two team members equipped with sniper rifles and the other two should carry a granade launcher and an assault rifle, m16 is ideal. When you run out of granade launcher ammo, take an automatic shotgun. Take some petrol cans with you as well and throw them out and light them up when Tanks come. Be sure to cover each other and this tactic will easily get you 8-11 minutes at least.
Cons-- Chargers, Chargers are the main concern as they can bowl through the tightly knitted group and cause disturbance in the line. - Item runs, with no health kits, a few pain pills and adrenaline shots, along with just an M16 and Tatical Shotgun. This makes it dangerous if you plan to get supplies from the radio below as you can easily get swarmed and killed within seconds. However if you use shotguns/assault rifle you can swap them for the weapon below and swap back for full ammo.
-Tank attacks, as Tanks are very strong, and if not killed on time can wreck havoc onto the team and there is no escape route.
-Escape route There is no escape route, making it hard to escape from an attack.
-Infected - if you move too far from the tents at the back, it will cause Common and Special Infected to also spawn from behind until you get back to the tents.
-
Bridge Video Guide - thumb|300px|left|Rusty's Bridge GuideRusty Woud has made many survival videos along with extensive coverage of the Left 4 Dead games, here he can be seen trying out the bridge method to great effect.
Cross the bridge finale in less than three minutes.
Behind the Scenes
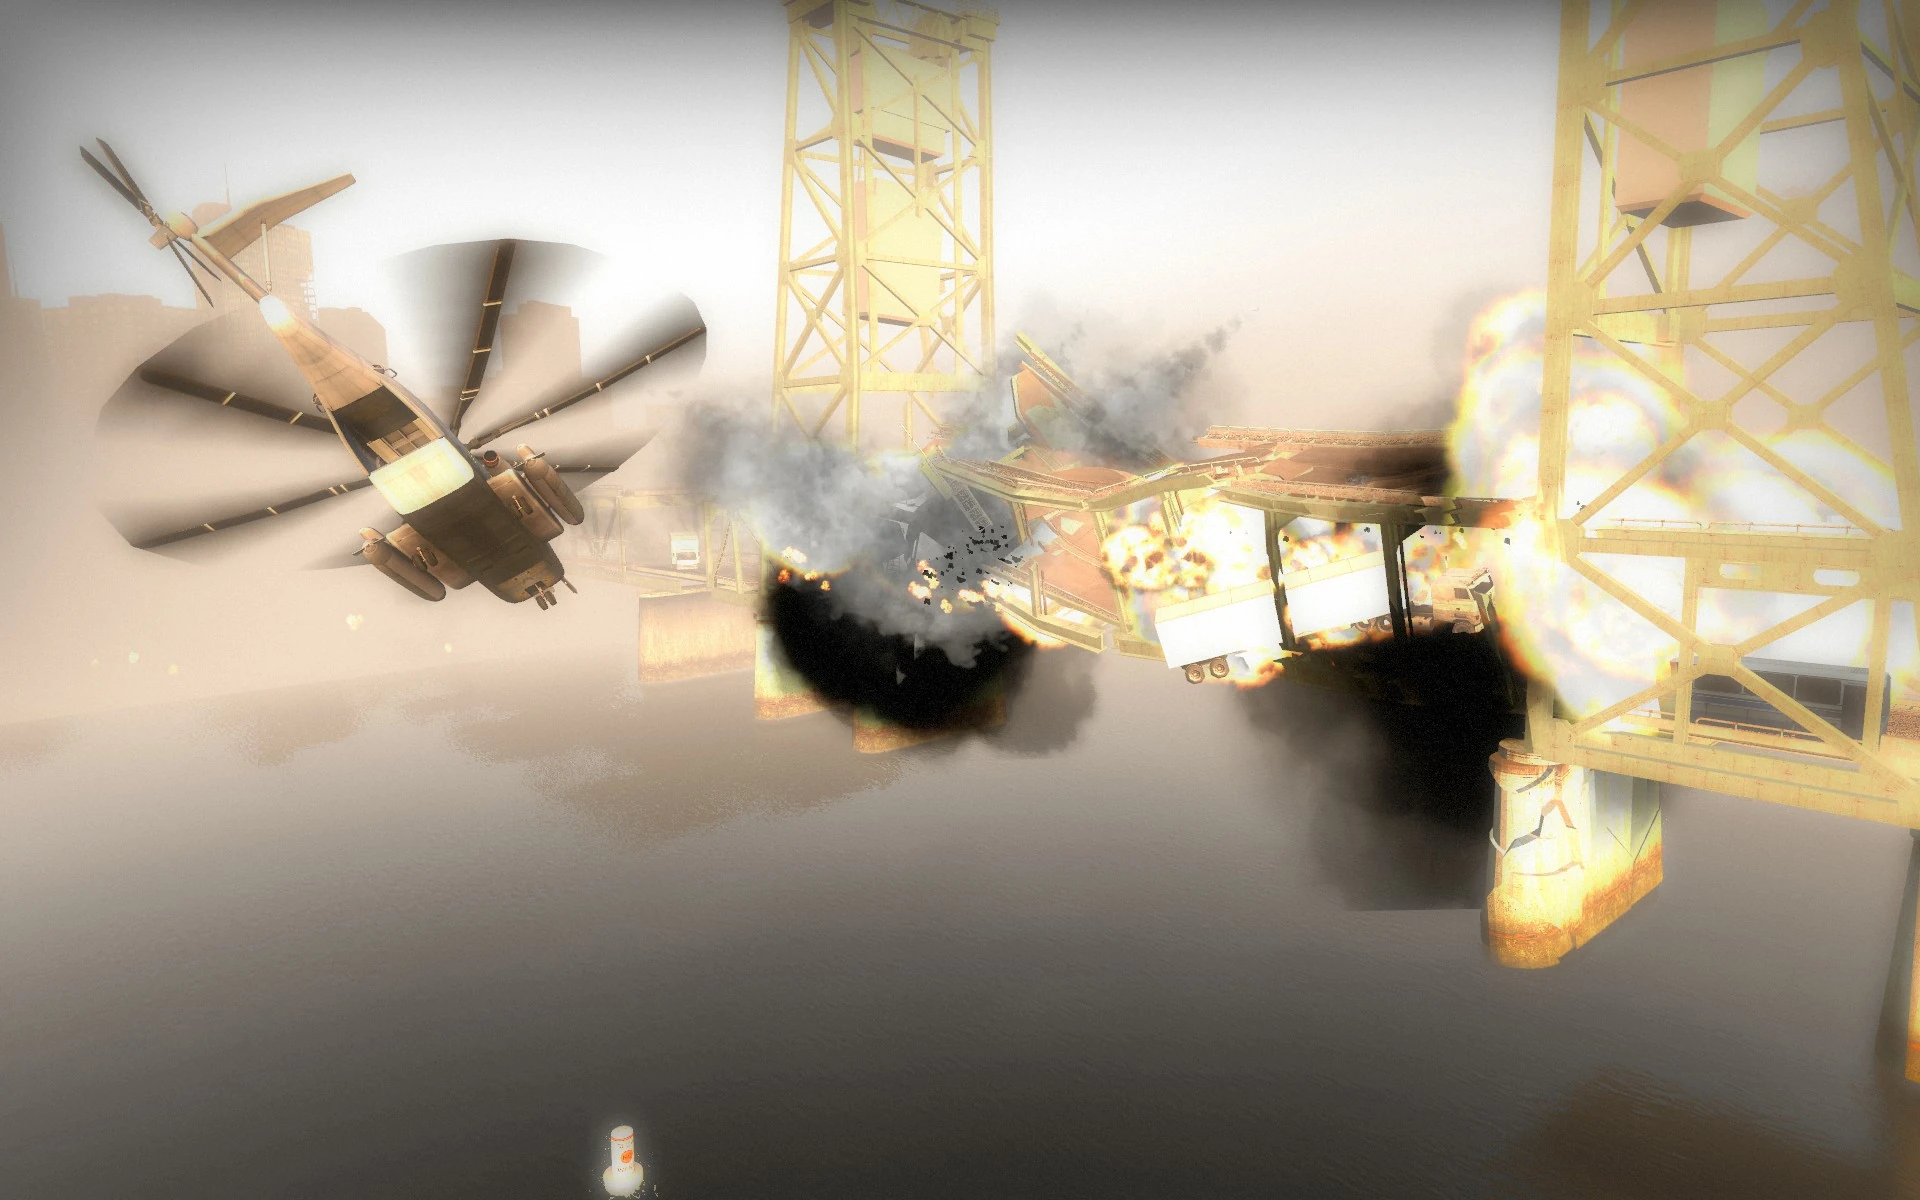
The military bombing the bridge.
This chapter was at first called "The Table Bridge" and then "The Lift Bridge" before being changed to simply "The Bridge". Originally, The Bridge was created with no cars or anything other than the Infected in the way. Valve changed this later, as described in the Developer's Commentary for this chapter.
The bridge itself was going to be bombed by the military while the Survivors were crossing it. This was cut for unknown reasons, though still appears in the Zombie Survival Guide Trailer, with Rochelle speaking to the military through a hand-held radio, requesting the bombing stop. The jets that were meant to bomb the bridge can still be seen in-game, returning from the city and bombing the bridge only before and after the survivors' run.
Notes
If any of infected are killed inside the helicopter, the bodies will clip through. This also happens to the Spiiter's acid (and will not harm any of the Survivors).
The reason why the bridge being bombed while survivors pass through it was removed is probably because it was too difficult for survivors to pass, considering the explosions. The trailer shows the entire bridge being bombed, making it impossible for the survivors to pass it.


