
|
"Unless anyone has a better plan..."
This article requires a properly written walkthrough. |

|
"You're gonna want to see this!"
This article needs pictures. You can help by uploading pictures. |
| |||||
| Chapter 3 The Mall | |||||
| Campaign | Dead Center | ||||
| Dead Center Chapter Chronology | |||||
| |||||
- "Everybody, gather 'round. Let's pray. Dear Lord, see us safely through our time of trial in this mall. And please Lord... let the food court be okay."
- ―Coach
- "Amen."
- ―Rochelle/Ellis
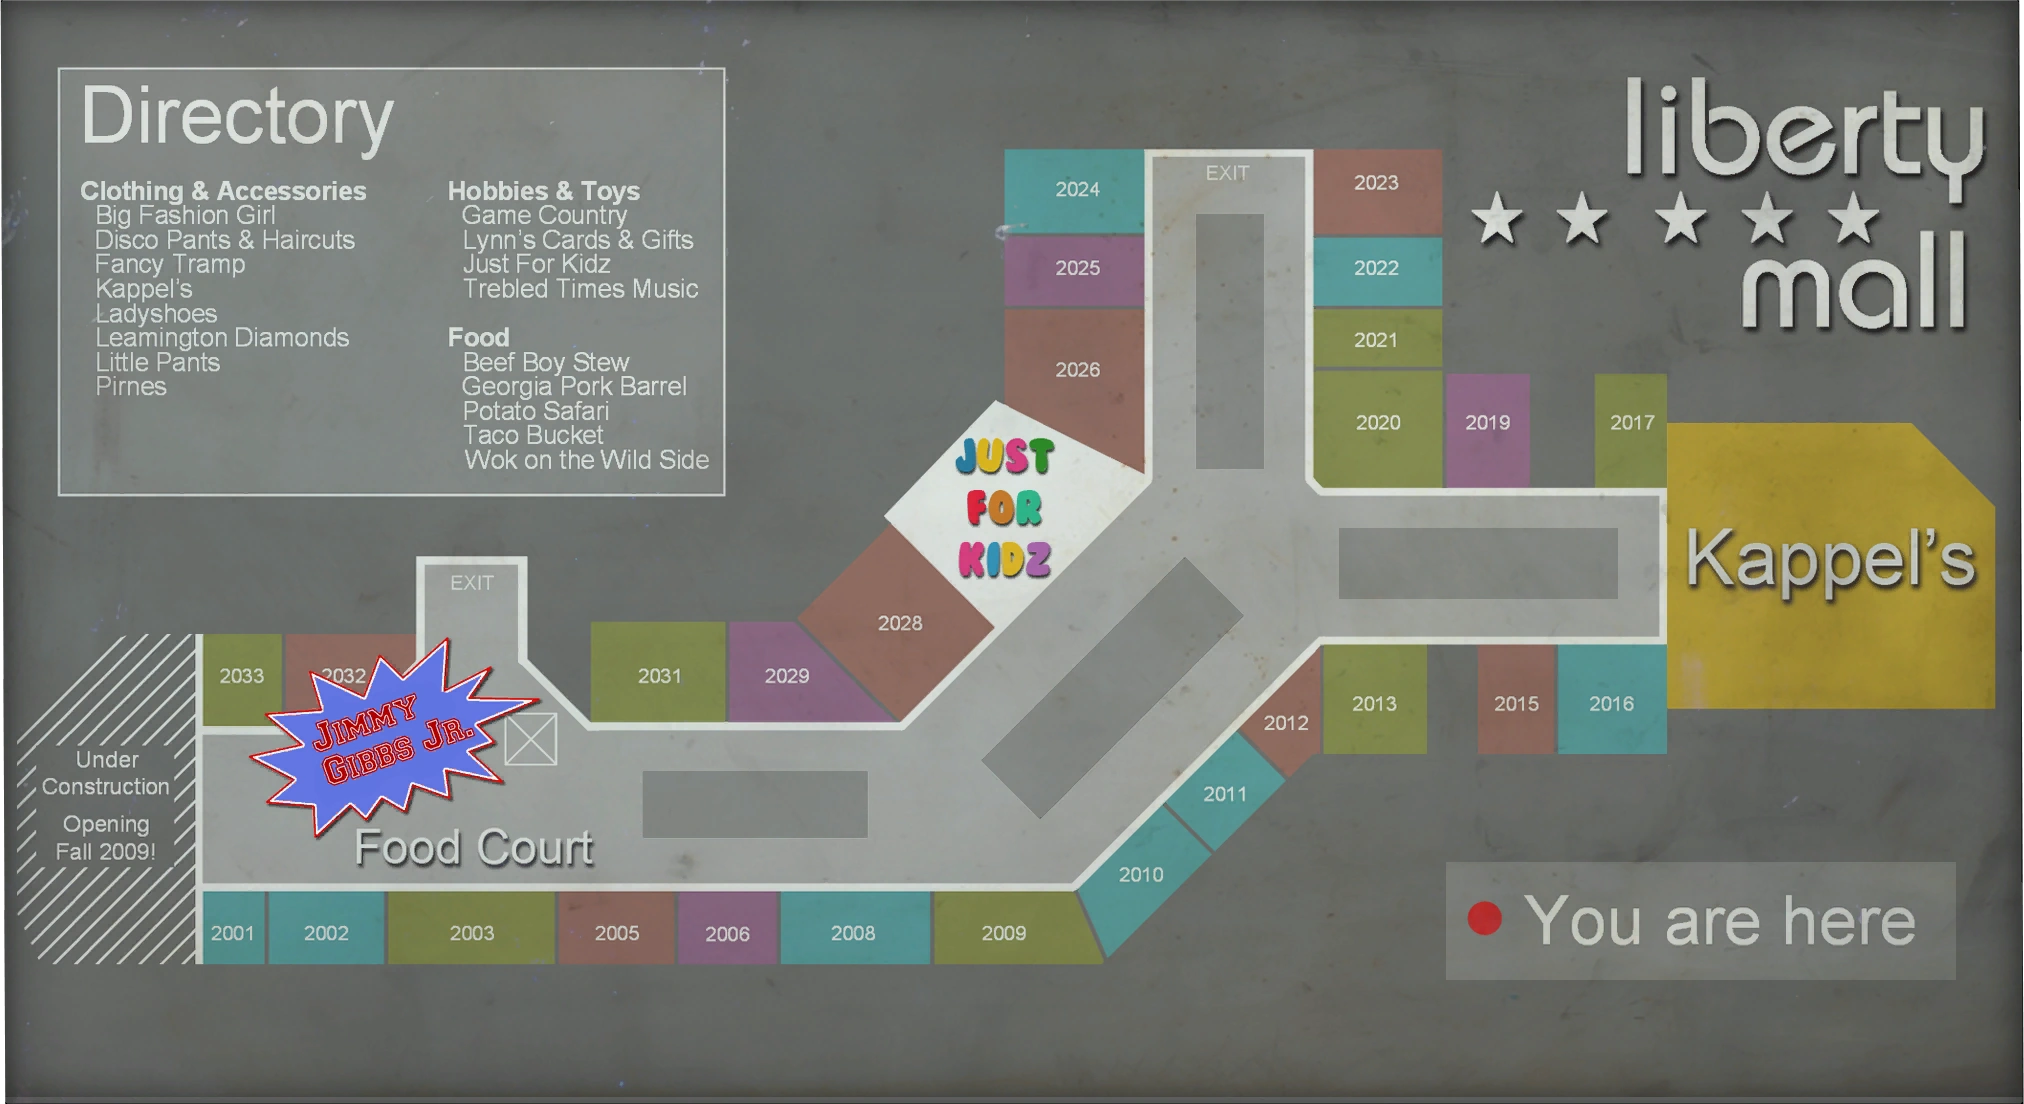
- For the actual in-game mall, see Liberty Mall.
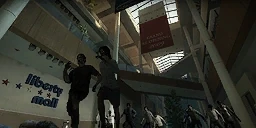
The Mall is the third chapter of the Dead Center campaign in Left 4 Dead 2. The Survivors finally reach Liberty Mall, only to find that the evacuation center there has already been overrun by the Infected. This chapter contains a Crescendo Event in which the Survivors must either open alarmed emergency doors on the first floor, or smash the windows of a barricaded toy store on the second floor, thereby triggering a burglar alarm that attracts Infected hordes until the Survivors manage to run and fight their way to the security office on the third floor to shut it off. This chapter seems to feature a generally increased number of Horde attacks and on Expert this onslaught is often thrown at players nonstop.
Strategy[]
Campaign[]
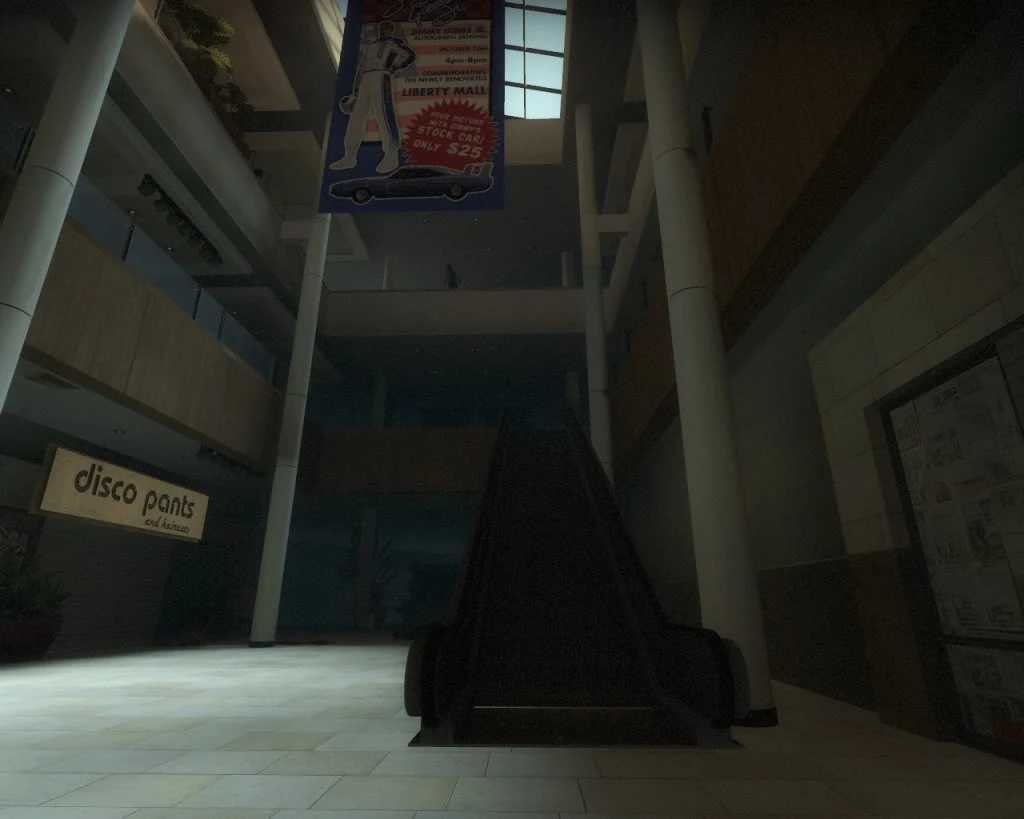
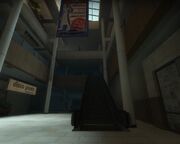
The team will start off at Kappel's department store. Grab supplies before you leave. Usually a horde spawns when the chapter begins, so wait for all the Infected to spawn before clearing them out. You will want to rush quickly through the mall, especially on Advanced and Expert where the hordes can really pack some damage on the team. The two floors of Kappel's does not contain much with scattered supplies throughout the floors. On the second floor, some supplies are locked away in glass cases which will need to be broken in order to retrieve the supplies. A Witch or Tank may spawn around Kappels so be wary if you or your allies hear them at the beginning of the level.
Go to the partially closed security screen where a pistol spawn is located. You will want to go down the escalators where it is a popular spot for a Tank spawn. Fight your way into the food court and quickly run through to the other side. There is a restroom hall to the left of the escalators at the end but should only be searched if the team is on critical health as the Director tends to spawn a First Aid Kit there which can be missed if the hall is avoided. Go up the escalators, wary of any Special Infected above. Go to the end of the area to the security screen where there is a slumped corpse. Near it are various supplies and a weapon if you need to get it.
Go to the one-way gate to the service hallways. Although this area is one-way, it can be made into a two-way area by shoving a chair out from the office nearby onto the makeshift barricade. This should only be used if the team can hear a Tank or Witch to allow the team to easily get rid of them in the event they are there. Hordes at this time will spawn from behind while you are in the service hallways.
Proceed up front and the path changes each attempt. There are two routes; the Just 4 Kidz route or the emergency exit route.
The Just 4 Kidz route is relatively short with several rooms containing some supplies; you are most likely to find something useful in one of the bathrooms on the right. At the end with a partially open door is a weapon on the ground, an ammo pile and a health cabinet. As you look to your right the store is seen with glass. Once the glass is shot while within shop boundaries the chapter's Crescendo Event will start. Therefore, any Common Infected spotted outside the windows should be shot at from the office area.
The emergency exit route takes the longer way and is relatively worse than the Just 4 Kidz route as an ammo pile is not guaranteed to spawn on this path. There still is a health cabinet in one of the rooms however. Two sets of doors will need to be opened before you reach the emergency doors. Hordes that spawn near the emergency doors tend to spawn outside but may crawl inside through a vent, which Special Infected will also use. Opening the doors will start the Crescendo Event.
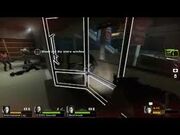
The Crescendo Event requires someone to disable the security alarm on the third floor of the mall and the team will need to fight through hordes of Infected to disable it. Special Infected, especially the Smoker and Charger, are dangerous and should have first priority over anything else as they can easily incapacitate and/or kill the whole team if ignored; Smoker, Charger and Jockey (if the Survivor is not resisting) can make the Survivor fall to their doom, and Special Infected can also pick off a lone Survivor that are either far behind or rushing to turn off the alarm.
The Crescendo Event is also infamous for dropping a Tank or Witch spawn directly in the chaos, forcing teams to deal with a finale-like situation or carefully fire at the Infected depending on which one spawns. Try to deal with the Tank on the ground floor, as getting punched from the top floor will mean instant death if you fall down.
Go back downstairs past the security office to find an incomplete section of the mall. A Tank or Witch may spawn in this or the upcoming area if they have not already appeared yet. Go through to the overrun CEDA post and up the escalator, then make a dash for the safe room. Be wary of any Special Infected that spawn while on the way as they will appear inside the safe room and may take out large chunks of health if they are not anticipated. Close the safe room door to complete the chapter.
Tip: As a way to conserve health kits, if anyone is near death by the time they reach the safe room, kill them off before closing the door. This will result in them returning in the next chapter with full health.

the second way to start the crescendo in the mall
Versus[]
Survivors[]
Basically, keep the same strategy in mind as in campaign mode. The very beginning could be the worst part of the level, as there are plenty of places for the Infected to spawn. Be very wary when traversing up or down the escalators, as Chargers are likely waiting to charge through them. Halfway through the level, after the Survivors have gone back up to the 2nd floor for the second time, there is a one-way gate as you enter the service hallways (there is a desk in the way that you can't jump over once inside the hallway). Although it may seem that you can't get back over the desk, you actually can, but it will take you about 20 seconds to do so. Just head to the room on your right as you jump over; there will be an office chair. Melee it out of the room and then push it to the desk, then if you have done it right you can jump onto the chair and then over the desk. but this is only necessary if any Survivors are unfortunate enough to be incapacitated before they enter the hallway, or a Tank shows up.
The service hallway takes two paths to the gauntlet crescendo event. Either it ends up in the back room of the Just 4 Kidz store (on the 2nd floor), or ends up in front of an emergency exit door (on the 1st floor). However it is much more likely that the Just 4 Kids store route will be open. When you reach the Just 4 Kids store, be very careful not to fire your weapon inside the store, as there is a high chance you will break the glass and prematurely activate the crescendo event before the other Survivors are ready to go. Once the crescendo event is started, take the escalator right in front of you up to the 3rd floor (watch out for Chargers and Smokers, both of which can cause you to fall off of the escalator to the ground floor, causing incapacitation or instant death), and run down the hallway right into the security room to deactivate the alarm.
After the security room, Survivors will have to take the stairs down to the second floor, travel through a hallway and storage area, then take an escalator up to the third floor and the safe room.
Infected[]
There are plenty of places to spawn inside Kappel's clothing store. Ideally you want to set up right outside the saferoom door to cause a good amount of damage. Chargers are key in this level, as there are plenty of escalators the Survivors must traverse, which force them into a small area for a decent amount of time. Just make sure to properly line up your charge.
A good ambush spot is at the entrance to the service hallways on the second floor, as this is a one-way gate. Successfully pinning someone outside this gate, might lead to Survivors being unable to save them. When the Survivors activate the crescendo event, try to single out the loner of the group (this will usually be the first or last guy). Smokers can drag from separate floors, and there are plenty of straight hallways for Chargers. It might be a good idea for the Spitter to spit right in front of the entrance to the security room, as the delay will likely cause another wave of Common Infected to slow down the Survivors.
A Jockey, Smoker, or Charger can also be useful during the Crescendo Event. While a Survivor is still on the second floor, it is possible to ride him/her over the escalator or the planters as a Jockey, incapacitating him/her until his teammates can pull him/her up. Smokers can also pull survivors off of the escalator from the 2nd floor to the 3rd floor, sometimes without the survivor grabbing the ledge. This is significant because when your grasp on the survivor is severed, he/she will fall to the ground floor, often resulting in incapacitation or instant death. A charger is able to cause incapacitation or instant death on the same escalator as well. If the charger grabs a survivor in a charge and hits other survivors on the way to the bottom of the escalator, the survivors might fall to the sides of the escalator and down to the ground floor.
Easter Eggs[]
- Just For Kidz (the children's store in the mall that starts one of the crescendo events) is likely another parody of the game's name (Just 4 Kidz).
- The design and architecture of the mall's interior is roughly based on the mall from the original Dawn of the Dead.
- This chapter and the next taking place in a mall is a reference to the common trope of malls in zombie media, such as in the Dawn of the Dead movies and the game Dead Rising.
- There is a reference to the 1980 film The Blues Brothers in the form of a shop called 'Disco Pants and Haircuts.' When the team walks past the shop, if Nick looks at it, he might say "Lots of space in this mall", which is a nod to the movie's mall car-chase scene.
Notes[]
- CEDA Worker Infected do not spawn in this chapter, despite the mall being a CEDA evacuation center and even though a few dead CEDA workers in Hazmat suits can be found near the end of the level.
- A theory is that the workers had fled the mall only to be overwhelmed and infected outside.
- The Toy Store Crescendo appears to be slightly easier (as well as the option that the Director favors) due to the Crescendo starting one floor closer to the alarm, while the door crescendo gives fewer chances to run in different directions from the very start, thus increasing the chances of survival. Note that only one option will be available depending on what the Director chooses.
- While playing in Campaign mode, the Tank may spawn in the Crescendo area (unless the Survivors haven't encountered one during the whole campaign;in that case he spawns sooner on the map or, rarely, doesn't spawn at all).
- A game glitch will kill any player jumping onto a vending machine. They will be instantly incapacitated, and then killed.[citation needed]
- Survivors will sometimes laugh if they do any of the following to the top half of any of the mannequins around the chapter: shoving, hitting with a melee weapon, throwing a Molotov or Pipe Bomb, or shooting.
- This is the only way to make Survivors laugh on the Xbox 360 version.
- Survivors start calling Special Infected by their correct names in this chapter.
- It has been noted that in this chapter, the horde seems to spawn very frequently; about every 20 or 30 seconds. This is probably due to the urban setting of the mall and perhaps many people waiting to be evacuated became Infected. Occasionally, the Director will simply spawn two times more Special Infected, instead of spawning a horde seemingly twice as fast. An example would be two Hunters or Chargers at once.
- It is possible for a Horde to spawn before players open the safe room door. This is odd considering that hordes (along with Special Infected) do not appear until a player has left the safe room. However they are harmless as the door is still barricaded. A player with a melee weapon is capable of killing Infected from inside the safe room, provided Infected are attempting to attack Survivors through the bars of the door.
- The Hordes in this level, with the exception of the Horde in the Crescendo Event, are relatively small. Each mini-horde consists of 10-15 Common Infected.
- Due to the frequency of Hordes during this chapter, surviving on Expert is extremely difficult without skilled teammates and good tactical plans.
- Also, it is possible that through the whole chapter, the Director will not spawn any ammo piles, so players should save plenty of ammo for the gauntlet crescendo and possible Tank, and pick up fully stocked replacement weapons whenever available.
- It is advised to save a Bile bomb from the previous chapter, since they are rarely found in this chapter.
- This is not possible in Versus because such items are automatically removed from a player's inventory in between chapters.
- There is no real Liberty Mall in Savannah, Georgia.
- Occasionally, Infected can be found in inaccessible areas (typically areas closed off by the Director). This is especially notable with the Witch. Tanks occasionally also happen to this but either he will die from frustration or will take quite a long time before he can reach the Survivors.