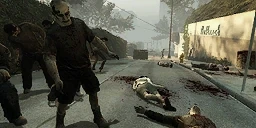
In The Streets, the Survivors follow the helicopters from the hotel as they head towards the evacuation center at the mall. This chapter contains a Crescendo Event in which the Survivors must obtain a pack of Cola from a Save 4 Less convenience store, with an alarmed door, for the owner of a nearby gun store, who returns the favor by clearing the roadblock that prevents the Survivors from reaching Liberty Mall.
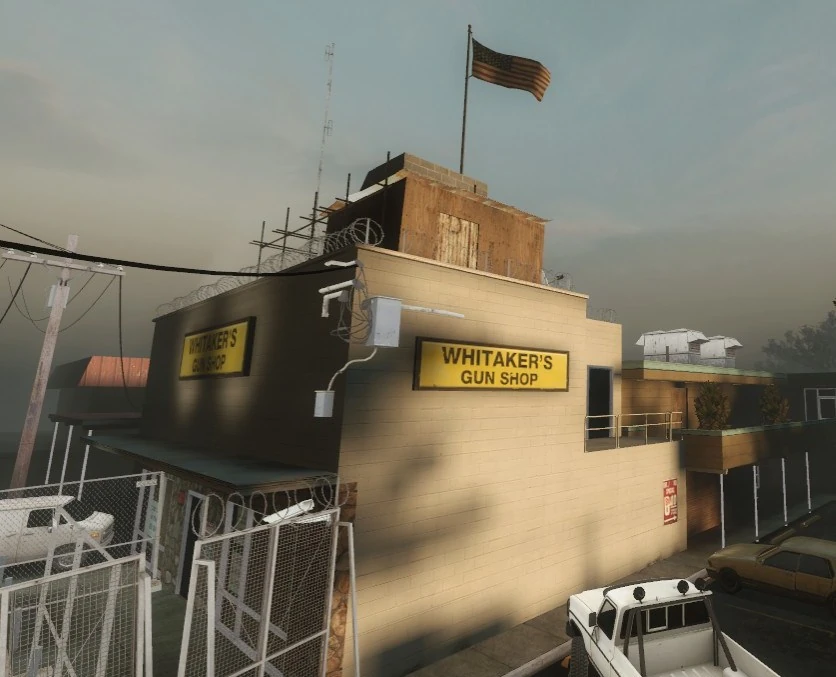
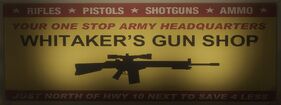
Halfway through the chapter, you'll come across a gun store under the ownership of Whitaker that contains four of every Tier 1 and Tier 2 weapon in the game, some Ammo piles, two Axes, four First Aid Kits, and Laser sights.
Always be sure to stick together―if you work as a single unit, the Infected won't stand a chance against you.
Try not to leave anyone behind, even if they are incapped. Not only does getting all four of you into the safe room get you extra points, but having an extra gun along with you is extremely beneficial.
This relates to the above tip―don't run off. Not only does rushing make you an easy target for the Special Infected, but it can also ruin a team and get you kicked.
When going down paths of no return―such as the drop from the walkway to the truck on the street―make sure all four of you go at once; otherwise, any nearby Smoker or Hunter can trap your teammate and incapacitate him while all you can do is stare.
At the store is where things ramp up. At least two Survivors should go in, no matter what, as Special Infected are almost always lurking behind shelves. And when the truck is blown up, don't just sprint for the safe-house, no matter how simple the path seems. Leaving behind your team is never a good thing, and most often it could wipe all of you in the mad dash.
Infected
At the start of the level, there are three good places to spawn. These places are on the roof ledge to the right of the safe room, behind the chain-link fence to the left, and behind the CEDA truck cabin right in front of the safe room. Throughout the streets, there are several places with a height advantage over the streets. These spots are perfect for spawning and getting the upper hand on the Survivors.
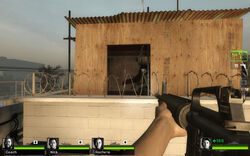
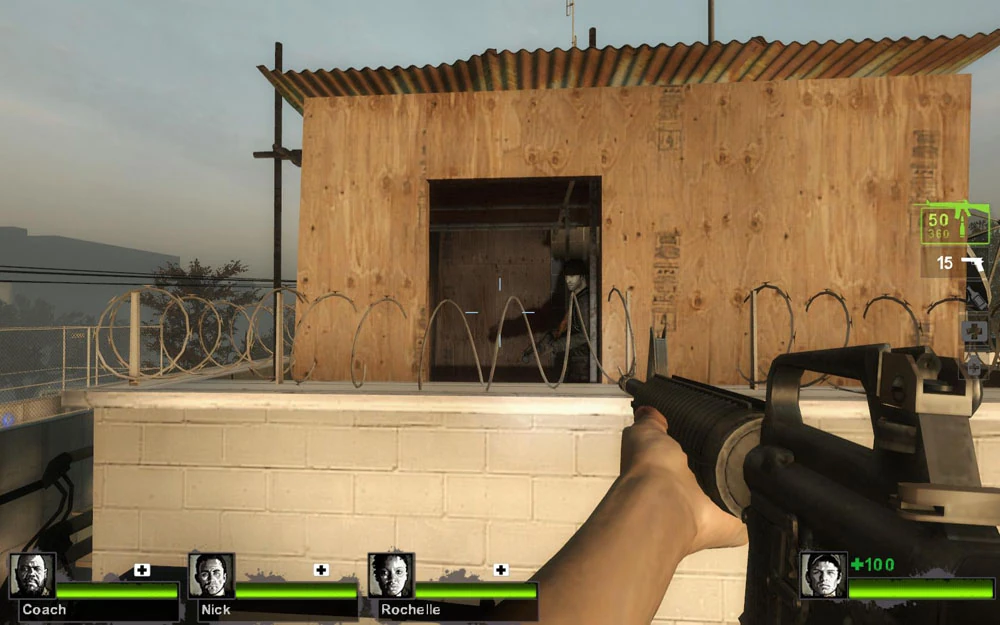
About halfway through the level, there is a room with new weapons and a healing cabinet. Directly ahead is a ledge the Survivors must jump down, from which they can't get back up. This is a perfect place for another ambush, as if you or a friend can incapacitate someone on that ledge (when all the other Survivors have already jumped down), then they cannot save him/her.
Another good ambush spot is at the gun store when the Survivors are restocking on health and ammo. Wait for them to signal for Whitaker to open the door leading to the Save 4 Less. Chargers are perfect here to charge down the stairs. When the Survivors enter the Save 4 Less, one key tactic is that you can actually spawn inside the store. There are plenty of corners and shelves to spawn behind. This is an ideal strategy, as usually only one Survivor goes to fetch the cola, as the others guard the front door. If the cola makes it outside the store, just remember to target whoever is carrying the cola, you want to delay them as much as possible. It's also preferable to all hold out near the cola-drop point, as again usually only one Survivor goes to pour the cola.
If the Survivors make it to the mall parking lot, there aren't many good places left to spawn; your best bet is likely spawning on the rooftop of the Save 4 Less and running over to the ledge, so you can look into the parking lot.
If you become the Tank, remember that there are a decent amount of cars in this level to punt around. Just be aware that there is also a high chance that a Survivor has a Molotov just for such an occasion.
Tactics
There is a part in this chapter where the Survivors have to go over a dumpster to progress in the level. If a Survivors should get trapped/pinned behind the dumpster, you can return over to his side by running deeper into the tunnel; you should be able to hop over a cement guarding to your right.
There are no Infected inside the Save 4 Less. A good strategy often used is to have two players go in to retrieve the cola and have two players stand outside block the Infected from charging inside the building after them.
This tactic may not be as effective in Versus mode, as the Special Infected players can spawn inside the store while the Survivors run to grab the cola. Just be aware that any of the "pinning" Infected could spawn behind the food aisles at any time, which makes the use of two players necessary when going into the store.
The most easy and effective way for this Event is to grab the cola and run, but before starting this Crescendo Event―be sure to hold a bile bomb with you, or if playing with other people, have one of them carry one. Once thrown, you run to Whitaker and after giving the Cola, the bile bomb's goo should be either gone or just about to wear off, so you can pick off the Infected that had piled up to the boomer bile. *Note that this does not attract Special Infected, so be aware of your surroundings!
To prevent any Infected from entering the store, toss a Molotov at the doorway. By the time you grabbed the cola and have ran back, the flames should have cleared/be close to going out. Be warned as AI will attempt to follow you, even if it means treading through the flames.
The Crescendo Event can be an easy and quick event if done with good teamwork. A useful tactic is to have two players up on the balcony, next to the drop-off door; one of these guys has the primary purpose of keeping the area clear of all Special Infected. Have one player on the upper parking lot just below the balcony, and the last guy on the lower parking lot, in front of the store doors. The lower player starts the event running in grabbing the cola and running out (keep in mind there are no Infected inside the store). Then the player tosses the cola over the hedges to the player on the higher parking lot. That player picks up the cola and throws it up to the balcony, where it is picked up and delivered it to Whitaker to by the other two players. After the first player throws the cola, they should find a corner, keeping in full sight of the other players. The player on the upper parking lot should either back up to the balcony or regroup with the player near the store. This tactic is only effective with a full team in multiplayer campaign mode and should not be attempted in Versus mode due to Infected players being able to spawn inside the store.
Survivors should be aware that the explosion which destroys the barricade is also capable of killing any Survivors within its range. Stay a distance away from the barricade whilst the cola is being delivered to prevent this.
Easter Eggs
Save 4 Less is a reference to the name of the game. Additionally, the logo at the top of the store is modeled after the logo on the game's box art, minus the hand.
Save 4 Less may also be a reference to a chain of supermarkets known as Food 4 Less.
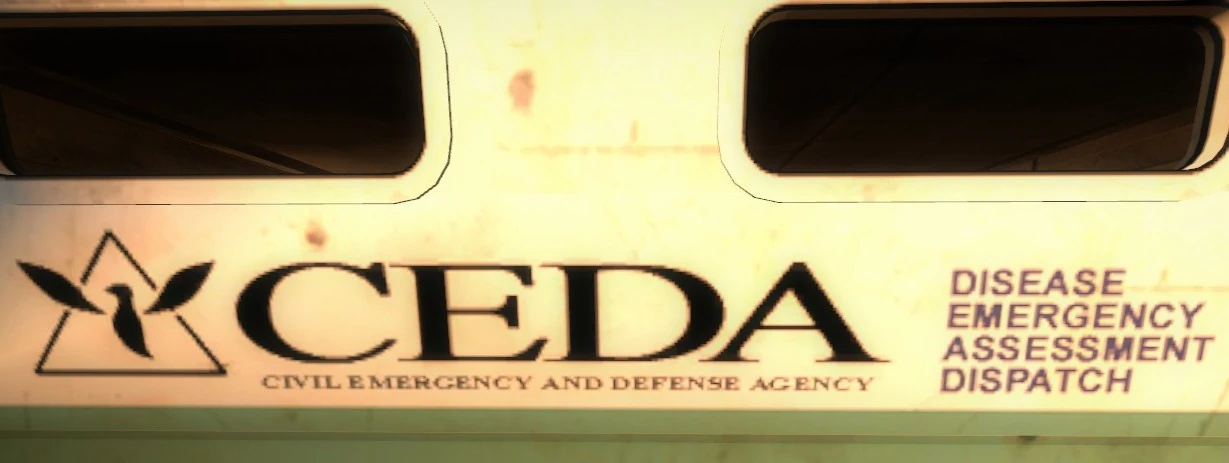
Side of the DEAD trailer with the "DEAD" acronym.
There is a trailer outside the safe room with the words "Disease Emergency Assessment Dispatch" this ironicaly spells out DEAD in an acronym form. This can also be seen in The Parish.
Using No Clip during the scene where Whitaker destroys the truck, the player can see Whitaker himself. Oddly, he shares a similar model to the Fallen SurvivorUncommon Infected, which appears in the next Chronological Campaign.
Notes
Whitaker's room above his store.
Whitaker is slightly visible from the streets, if one peers into his window. It is also possible to noclip into the room above the door the cola is delivered into. Whitaker will appear in this room for a few seconds, fire his weapon, then disappear.
Though Whitaker fires from a grenade launcher, his "grenade" appears to be more like a missile.
Ironically, the store alarm attracts a horde, yet no horde comes when Whitaker blows up the tanker next to the store. In fact, Whitaker destroying the tanker is what stops the alarm. Apparently the alarm is disabled by the blast. It can be assumed, however, that the utility pole knocked over by the tanker's destruction may have cut off power to the store, assuming the alarm wasn't backed up by a generator.
At the beginning of the level, after exiting the hotel, walking down the street to the right, entering a building and exiting it onto another street, go into the middle of the road and turn around. Surprisingly, a billboard advertising the Screaming Oak rollercoaster can be seen. The Screaming Oak rollercoaster is located in the Dark Carnival third chapter, The Coaster.
When you reach the area where you jump onto the bus from the broken gate, you can see a billboard depicting Jimmy Gibbs Jr., which states that he is at the Liberty Mall.
Whitaker above the gunshop after firing the grenade launcher.
A bug may occur if you are being healed by a teammate and give Whitaker his Cola at the same time. The game might freeze as long as you finish giving the Cola.
Billboard for the gun shop.
The Crescendo Event in this chapter is rather odd: it is a gauntlet crescendo in a way that unless you do not deliver the cola to Whitaker, the alarm won't stop. However, if you hold out long enough (around 10-20 minutes) the alarm will stop by itself. The same oddity will occur at the carousel crescendo as well.
If a player or Infected stands near Whitaker's intercom and speaks, it will be amplified in a similar manner to the microphone in The Concert.
There is a shortcut to delivering the cola. Once you exit the store with the cola, look to your left, you will see a white van backed up against the wall. You can jump on the hood of this van and then the van roof, from there jumping over the fence and drastically cutting 25% of the route you take back to Whitaker.
Another cola shortcut is having one or two players stay on the balcony, then other Survivors grab the cola, run out of the store, then throw the cola up to the balcony, while the Survivor on the balcony pick up the cola and take it to Whitaker.
Near the start of the chapter, there is a medical tent seemingly used by CEDA. A dead CEDA Worker Infected and IVs similar to those in The Hospital can be found within.
In the Save 4 Less store, there is no food on the racks.
This is possibly due to looting. However, the way to get in the store without opening the door is unknown.
It could also be for gameplay purposes however, as rendering all that food would be hardware heavy.
The prices on the weapons are very strange; for example, a AK-47 costs $2000 while an Uzi or Hunting Rifle only costs $400.
Also It should be noted despite being fully automatic, the SCAR sold in Whitmaker's Shop is actually $200 below the typical price for a Semi-Automatic SCAR
Also despite being a weapon of German Origin, the Sniper Rifle is despicted on a poster in the shop in front of an American Flag, possibly implying it's a PTR-91, a H&K G3 clone produced in the United States
A Witch in the parking lot of Save 4 Less will not be startled when the alarm activates or when Whitaker shoots the truck. However, it is still advised to kill her before starting the event.
It is possible that if any Infected (including the Witch) or Survivors are standing near the exploding tanker truck, they will instantly die.
All of the weapons in Whitaker's gun store, except for the Hunting Rifle, Sniper Rifle, all shotguns, Desert Eagle, and Glock 17's are illegal for civilian use, unless the civilian obtains a Class-III firearms permit, even then under the Machine Gun Ban of 1986 the SCAR sold in the shop is completely illegal. The Axe (of which it is a fire axe) is a weapon used in emergencies to break down doors and windows; outside of an emergency, it would be illegal to use in public.
Also, contrary to the sign in the shop, the Combat Shotgun (SPAS-12) is legal everywhere in the U.S., only importing it into the U.S. is illegal.
Gallery
Delivering the cola to the gun store owner.
The gas truck after it was shot by Whittaker
Whitaker
Save 4 Less
The Screaming Oak Billboard
The Jimmy Gibbs Junior billboard
This article is a stub You can help Left 4 Dead Wiki by expanding it.


")
")
")
")
")
")


